How to Turn a TV Into Digital Signage That Stays On All Day


To turn a TV into digital signage, play content from a USB stick, a signage app on a smart TV, or a small player in the HDMI port, then publish it from a signage account. Almost all TVs with HDMI work. The route decides whether the screen updates remotely and comes back on after a power cut. The sections below cover the parts, the routes, and the settings.
What You Need to Turn a TV Into Digital Signage
To turn a TV into digital signage, you need five parts: the TV, a source that plays the content, signage software, the content itself, and a network for updates. The TV does not have to be smart. TVs with an HDMI port play signage from an external player, and most modern smart TVs run a signage app with no extra hardware.
This is also the short answer to how to make digital signage in a café, a bar, or a quick-service counter: the screen only displays, and the source and software do the work. The steps to turn TV into digital signage stay the same at one screen or ten. How to create digital signage that changes on its own comes down to the source and software rows below.
| Part | What works | Needs internet? | What happens without it |
| TV | TVs with an HDMI port; smart is optional | No | Nothing to show content on |
| Source | USB stick, signage app on a smart TV, external player, mini PC | Only for remote updates | The TV shows its home screen |
| Signage software | Free single-screen plan or a paid plan | Yes, to publish | No schedules, no remote changes |
| Content | Templates, Canva, Google Slides, photos, short videos | No | A blank playlist |
| Network | Wi-Fi or Ethernet | — | Content stays as it was on the last sync |
A sixth part is easy to miss: someone who owns the screen. In a restaurant, the shift manager usually notices a dark menu first and owns it. Next, the three routes show how each source behaves.
How to Use a TV for Digital Signage: 3 Ways
You can use a TV for digital signage in three ways: a USB slideshow, a signage app on a smart TV, or an external player in the HDMI port, and only the last two update from anywhere. Whether you use TV as digital signage for a menu or a promo loop, using a TV for digital signage follows the same path in every case. The route changes what breaks and who has to fix it.
With a USB Stick
A USB slideshow costs nothing and needs no internet:
- Format the stick as FAT32, which almost every TV reads. FAT32 cannot hold a single file larger than 4 GB, so keep videos short.
- Design slides in Canva, Google Slides, or PowerPoint at the TV’s resolution, 1920×1080 for a Full HD set or 3840×2160 for 4K.
- Export them as JPEG files. Most TVs read JPEG reliably, while some struggle with other image formats.
- Plug the stick in, open the TV’s media player, and start the slideshow.
The weak spot comes the next morning. Many consumer TVs do not remember the USB source after they are switched off, so someone restarts the slideshow every day. Every price change also means a walk to the screen with a new stick.
With a Signage App on a Smart TV
A smart TV runs signage software directly. You install the app from the TV’s store, the app shows a pairing code, and you enter the code in your signage account. From then on, content arrives over Wi-Fi. This route adds no hardware, and the setup takes five steps, covered below.
A lighter version skips the app. Some signage services give each screen a web player address, and you open it in the TV’s built-in browser. It works for a test, but a browser rarely reopens by itself after a power cut.
With an External Player or Mini PC
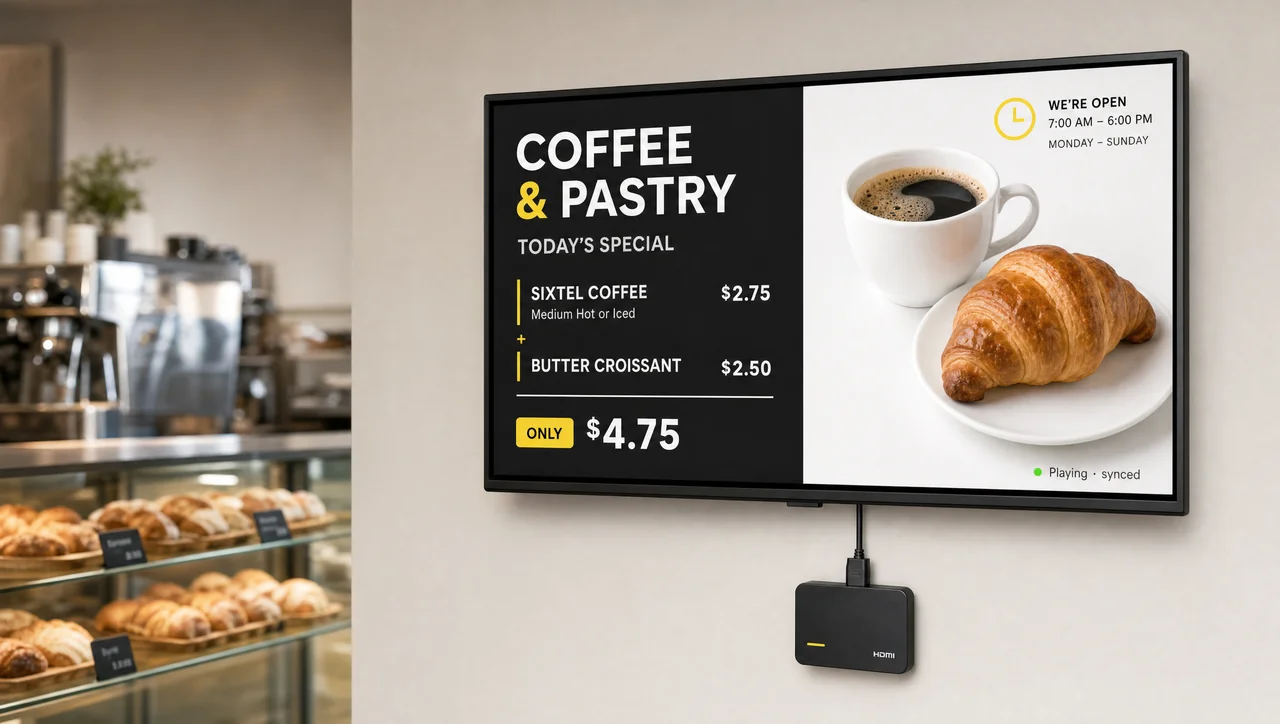
An external player plugs into the HDMI port, and the TV becomes a plain display. Such players store the content, start it after a power cut, and keep playing from cache when the internet drops. Because the TV’s own software stays out of the loop, old and non-smart TVs play signage this way as well. Players built for signage, such as the Android digital signage media player from Decker, connect over Wi-Fi or Ethernet and receive updates from the signage account.
A spare laptop or mini PC with a PowerPoint loop works too, but updates, sleep settings, and login screens interrupt it often.
What About Fire TV, Roku, Apple TV and Google TV?
Streaming sticks look like cheap players, but they target home viewing and fight signage in different ways:
- Fire TV Stick. The stick goes to sleep after 20 minutes without input, and the menu has no setting to change that. Fire OS 7.6.6.9 and Fire OS 8 also stopped third-party apps from bypassing the Fire TV home screen, which broke auto-start for many signage apps. The change hit the Fire TV Stick 3rd gen, Stick Lite, Stick 4K Max 1st gen, Fire TV Cube, and Fire OS TVs from TCL, Toshiba, and Hisense. Signagelive ended Fire TV support completely by January 2025, and ScreenCloud stopped recommending Fire TV devices.
- Amazon Signage Stick. Amazon built it as a separate device for signage. According to Amazon’s signage page, it launches the signage app in kiosk mode by itself, supports Wi-Fi 6E and 4K, and costs under $100, plus a separate signage software plan.
- Roku players. Roku’s support page notes that on models with Auto power savings, the player enters low power after 20 minutes without interaction and tries to switch the TV off through HDMI-CEC.
- Apple TV 4K. Its built-in Conference Room Display mode shows a custom message and a photo, but Apple’s guide describes it as an AirPlay waiting screen, not a playlist with a schedule.
- Google TV. Google stopped selling the Chromecast with Google TV in early 2025. Its official replacement, the Google TV Streamer, launched in August 2024 for $100.
⚠️ “A cheap streaming stick is a signage player” is not true for a screen that runs all shift: the Fire TV Stick sleeps after 20 minutes, and a 2024 Fire OS update blocked many signage apps from starting on their own. Test any stick through a full business day before it goes above the counter.
| Route | Upfront cost | Remote updates | Comes back after a power cut | Plays without internet | Best for |
| USB slideshow | $0 | No | Usually not | Yes | One static screen you can restart daily |
| Smart TV app | $0 | Yes | Depends on the TV platform | Depends on the app | 1–2 screens, staff areas, short hours |
| Streaming stick | Up to ~$100 | Yes | Often not | Depends on the app | Testing before buying hardware |
| Signage players | ~$50–200 | Yes | Yes | Yes, from cache | Customer-facing screens all shift |
| Laptop or mini PC | Hardware you own | Yes, with software | Often not | Yes | Short events, temporary screens |
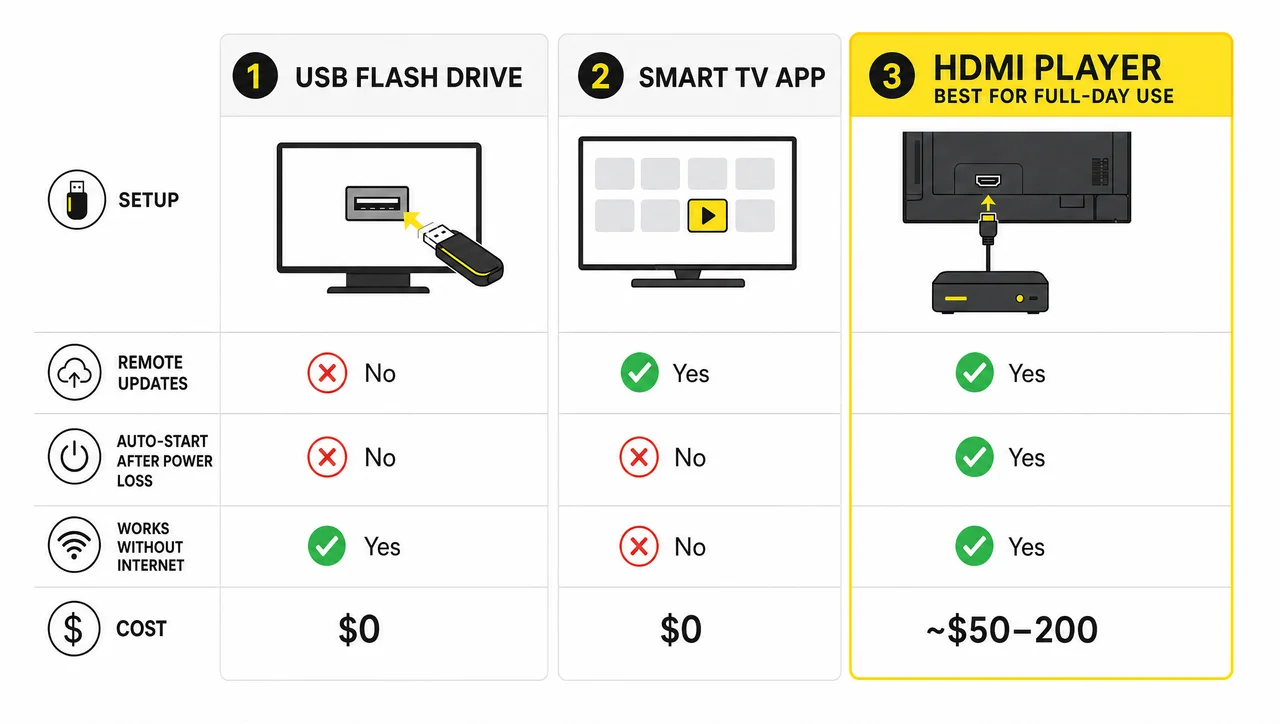
A practical rule follows from the table. A signage app on a smart TV suits one or two screens with simple content and short hours. Once a TV runs 8 or more hours a day, faces customers, or has to restart without staff, dedicated players keep the screen on more reliably. One more limit applies to the TV itself: Samsung’s US consumer TV warranty excludes damage from commercial use. That is why the smart TV setup below ends with the settings that keep the screen on.
How to Set Up Digital Signage on a Smart TV
To set up digital signage on a smart TV, check the TV’s platform, install a signage app, pair the TV with your account, add a playlist, and then switch off the settings that turn the screen off. The first four steps take minutes. The fifth decides whether the screen is still on at 2 p.m.
Step 1. Check Your TV’s Platform
The platform inside TVs decides which signage apps they can run:
| Platform | How signage runs | Watch for |
| Samsung (Tizen) | Signage apps on Tizen TVs from 2016 onward; commercial Tizen displays install them on the display | Consumer TVs vary by model year |
| LG (webOS) | Many services run through the built-in browser | Browser does not always reopen after power loss |
| Android TV / Google TV | Apps from Google Play; most apps need Android 7.0 or newer | Check Settings → About for the version |
| Roku TV | Channels from a few signage vendors | Opens on the Roku Home screen by default |
| Fire TV televisions | Apps from the Amazon Appstore | Same Fire OS limits as the Fire TV Stick |
If your platform is not on your software’s list, plug in an external player and keep the TV as the display: digital signage software that works with any TV talks to the player, not to the TV’s operating system.
Step 2. Install the Signage App
Open the TV’s app store, search for your signage provider, and install its player app. On an Android TV, the app may ask for permission to start at boot. Allow it.
Step 3. Pair the TV With Your Account
Open the app. It shows a short pairing code. Sign in to the signage account on a phone or computer, choose to add a screen, and type the code. Name the screen by its location, for example “Counter left,” so the right content goes to the right TV.
Step 4. Add Content and a Schedule
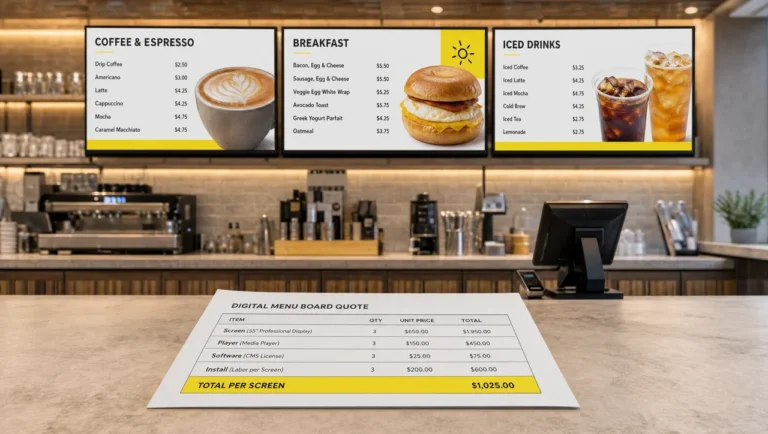
Upload images or short videos, build a playlist, and assign it to the screen. Then add a schedule. A café, for example, shows the breakfast menu until 11:00, lunch until 3:00, and a coffee promo for the afternoon.
Step 5. Turn Off the Settings That Switch the Screen Off
Smart TVs save power by design for a living room, so several defaults blank the screen in a business:
- Auto power-off. According to LG’s support page, LG TVs turn off after about 4 hours without a remote command. Samsung’s support pages place Auto Power Off under Settings → General → Eco Solution, so turn it off there.
- Sleep timer. On Samsung, check Settings → General → System Manager → Time and keep the Sleep Timer off.
- HDMI-CEC. Turn it off: Anynet+ on Samsung, SIMPLINK on LG, BRAVIA Sync on Sony, Aquos Link on Sharp, EasyLink on Philips. Otherwise, sleeping players or sticks can switch the TV off or change its input.
- Power-on input. A Roku TV opens on its Home screen by default. Go to Settings → System → Power → Power On and choose the input the signage plays on.
- Screensavers on sticks. On a Fire TV, set the screensaver to Never. The 20-minute sleep cannot be turned off in the menu.
- Updates and pop-ups. Postpone automatic updates where the TV allows it, and set brightness for the room, not the showroom default.
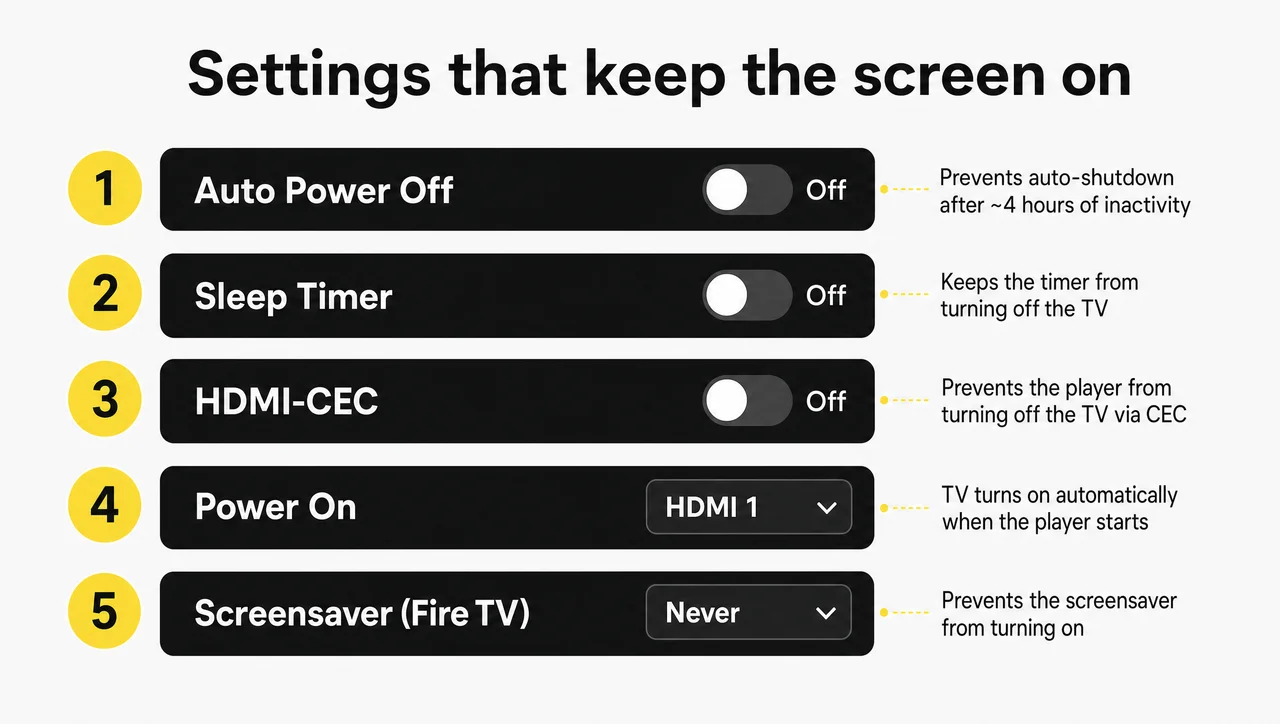
Menu names change between model years, so search the TV’s settings for “power,” “eco,” and “CEC” if a path does not match.
⚠️ “Turning off Eco mode keeps the TV on” is not true on its own: a Roku player with Auto power savings still tries to switch the TV off after 20 minutes through HDMI-CEC. Turn off CEC on the TV as well.
Next, the same TV can run signage without paying for software.
Turn TV Into Digital Signage for Free: What Works
You can turn a TV into digital signage for free with a TV you already own and a free single-screen plan, a USB stick, or open-source software, but free setups usually stop at one to three screens and few or no schedules. This also shows how to create digital signage for free without buying anything: reuse the screen and choose one of the options below.
Free Signage Plans Compared
Free plans differ more than their names suggest. As of October 2026, the main free tiers looked like this:
| Option | What is free | Main limits |
| DigitalSignage.com | First 3 screens | Paid per screen after that |
| OptiSigns | Up to 3 screens | Works on OptiSigns devices, Windows, Linux, and Raspberry Pi, not smart TVs; no scheduling; 1 GB storage; logo on screen |
| PiSignage | 2 player licenses | Each extra player is paid yearly |
| Yodeck | 1 screen | Basic features |
| AbleSign | Free to use | No per-screen charge for the free service |
| Anthias | Unlimited, open source | You install it on a Raspberry Pi 2–5 or a PC and manage each screen separately |
| Decker Starter | 1 screen | No credit card; scheduling by daypart and POS sync are on paid plans |
⚠️ “Free plan” does not always mean “free on your TV”: the OptiSigns free tier covers up to 3 screens but runs only on its own devices, Windows, Linux, and Raspberry Pi, without content scheduling. Check the supported devices before you pair a smart TV.
Free terms change often, so confirm them on each signage provider’s official pricing page.
Free Options Without a Signage Account
Two free routes need no signage account at all. The first is the USB slideshow described above. The second is Google Slides: open the deck, choose File → Share → Publish to web, pick an auto-advance interval, and check “Restart the slideshow after the last slide” and “Start slideshow as soon as the player loads.” Then open the published link in the TV’s browser or on a player. Edits in the deck show up on the screen once the published version refreshes.
Neither route schedules content by time of day or reports a dark screen. For one sign in a waiting area, that works. For the menu above the register, the hours spent restarting and re-uploading soon cost more than a paid plan.
⚠️ “A free plan means the screen costs nothing” is not true: the software costs nothing for one to three screens, while the TV, mount, cable, player, electricity, and staff time to restart and update the screen still cost money.
As a result, the room and the hardware matter more than the plan, which the next section covers.
How to Make a Digital Signage Display Run All Day
How to make a digital signage display last a full shift comes down to four things: where it hangs, how it gets power and network, whether guests can read it, and whether it survives a test before opening. The software matters less than these four once the screen is up.
Mount It Where Guests Can Read It
Hang the screen above eye level where the line forms, not where it looks best from the door. Keep it away from windows, because glare washes out consumer TVs fast. If you need a vertical screen, check that the TV supports portrait mounting and rotate the image in the signage software or TV settings. Most consumer TVs are designed for landscape only.
Connect Network and Power
Use Ethernet for screens that cannot go dark, such as a menu above the counter. If you rely on Wi-Fi, check the signal at the screen, not at the router. Plug the TV and player into a surge protector, or a small UPS where power flickers. Then schedule the screen to turn on before opening and off after closing, so it does not burn hours overnight.
Create Content That Reads From the Line
Readable content follows simple numbers. Plan 1 inch of letter height for every 10 feet of viewing distance, and at least 3 inches for the most important information. Keep a text-to-background contrast ratio of at least 4.5:1, or 3:1 for large text. Leave each message on screen for about one second per word, and never less than 5–10 seconds for a simple message. Add captions to any video with sound.
| Viewing distance | Letter height |
| 10 feet | 1 inch |
| 20 feet | 2 inches |
| 30 feet | 3 inches |
| 40 feet | 4 inches |
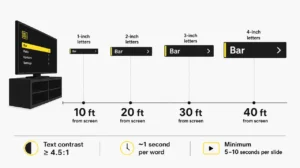
Use landscape 16:9 for most content, and give each screen in the venue one job:
| Screen | What it shows |
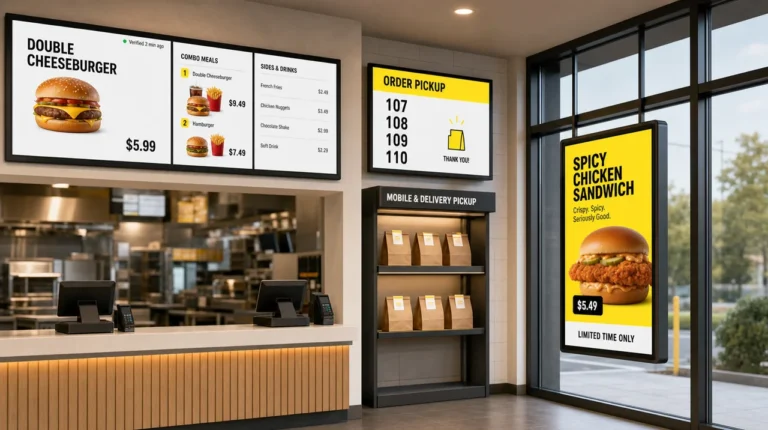
| Above the register | Menu and prices, with sold-out items removed |
| Dining room wall | Combos, seasonal specials, and upsells |
| Entrance | Opening hours, today’s specials, Wi-Fi details |
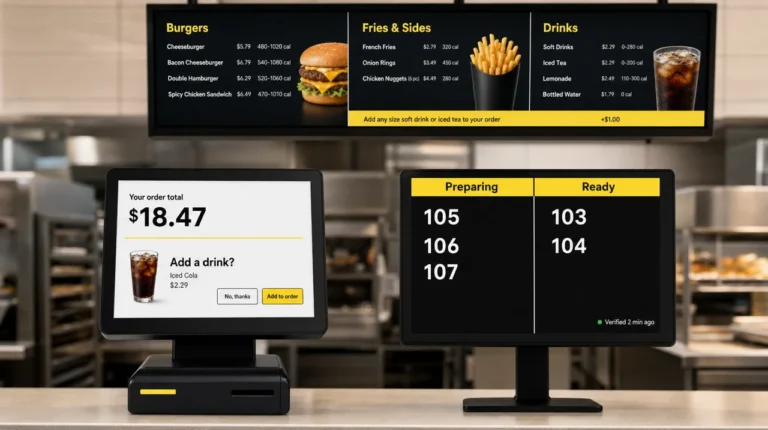
| Pickup counter | Order status or wait time |
Test Before You Open
A screen that plays during setup has passed only the first check. Before customers see it, run four more:
- Pull the power for 30 seconds, plug it back in, and confirm the content returns on the right input.
- Turn off the Wi-Fi and confirm the content keeps playing.
- Leave the screen running for 5 hours without touching the remote, which catches the 4-hour auto-off timer.
- Restart the player or stick and confirm the TV stays on the signage input.
After launch, check every screen once a month for flicker, dead pixels, and connection drops. However, some jobs exceed what any consumer TV can do.
When a TV Is Not the Right Screen for Signage
A consumer TV is the wrong screen for signage when the job exceeds what the TV was built for, and five conditions make that clear. TVs rated for 6–8 hours of home viewing should not run a menu that stays up 16–24 hours a day, because they use up their life in a few years. A screen behind a sunny storefront window needs far more brightness than a typical living-room TV delivers. A vertical menu board needs a display rated for portrait, while most consumer TVs are designed for landscape only. A screen above the register that goes dark during lunch costs sales every minute, so it needs auto-recovery that a TV alone does not have.
Finally, TVs in restaurants usually lose their warranty, since Samsung’s US consumer warranty excludes commercial use. In any of these cases, a commercial display or at least a dedicated player makes the better buy. Next, here is how Decker covers the player side of that choice.
How Decker Turns a TV Into a Managed Screen
Decker turns an existing TV into a managed signage screen with two devices: a player that shows the content and a verifier that confirms the screen is actually showing it. That pair covers the failure points that TV settings alone cannot fix.
Decker Player is an Android media player that connects to any TV over HDMI and receives content over Wi-Fi or Ethernet. It gets only the changed parts of a scene, so a new price reaches the screen in 1–5 seconds without flicker, and its offline cache keeps playback going when the connection drops. Because the player handles startup, Fire OS limits and smart-TV app stores stop mattering.
Decker Verifier brings digital signage with remote management to an ordinary TV and works independently of the player. It monitors both the player and the TV, controls power for both, switches the HDMI input back when TVs wake on the wrong source, and restores playback remotely without a site visit. It also logs uptime for every screen.
For restaurants, the same player runs digital menu boards for restaurants: on the Professional plan, prices and sold-out items from Toast, Square, and Clover reach the screen automatically. In the Burger Shop case in Downtown Los Angeles, four screens were tied to the POS, and menu updates went from days or weeks to minutes.
One screen stays free on the Starter plan, and paid plans include a 30-day trial for up to 5 screens without a credit card. Next, the FAQ covers the questions owners ask most.
Questions and Answers
1 How do I turn my TV into digital signage?
To turn TV into digital signage, connect a source and a signage account to the TV. You can play a USB slideshow, install a signage app on a smart TV and pair it with a code, or plug a signage player into the HDMI port. Signage players give the most reliable route for screens that run all day.
2 Do I need a player to run signage on a TV?
Not always. Smart TVs whose platform your signage software supports run the app with no extra hardware. You need a player for a non-smart TV, for screens that run 8 or more hours a day, and for any screen that has to restart on its own after a power cut.
3 Does digital signage work on Samsung smart TVs?
Yes. Many signage apps run on Samsung Tizen TVs from 2016 onward. Before going live, turn off Auto Power Off under Eco Solution and turn off Anynet+, Samsung’s name for HDMI-CEC, so the TV does not switch off or change inputs.
4 Can I use a Fire TV Stick for digital signage?
For a short test, yes. For a screen that runs all day, it is a weak choice: the stick sleeps after 20 minutes, and Fire OS 7.6.6.9 and Fire OS 8 stopped many signage apps from opening on their own. An Amazon Signage Stick or dedicated players avoid both problems.
5 Why does my TV turn off by itself when showing signage?
The usual causes are an auto power-off timer, such as the roughly 4-hour timer that LG’s support page describes, a sleep timer, or HDMI-CEC. Through CEC, a connected player or Roku device that goes to sleep can switch the TV off. Turn off all three and set the TV to power on to the signage input.
6 Can I still watch regular TV on the same screen?
Yes. Exit the signage app or switch the input to watch TV, then switch back. On a screen guests rely on, name one person who switches it back, or use a player that returns to signage on a schedule.
7 What happens to the screen if the internet goes down?
With a player or app that caches content, the screen keeps showing the last playlist it received. New changes arrive once the connection returns. A web-player link in the TV’s browser usually stops working without internet.
8 What file format works best for a USB slideshow?
JPEG images on a stick formatted as FAT32 work on the widest range of TVs. Match the image size to the TV’s resolution, for example 1920×1080 for Full HD, and keep each video file under 4 GB.
Sources
- Auto Power Off (LG)
- Why does my Samsung TV keep turning off by itself (Samsung)
- How to disable auto power savings on your Roku streaming player (Roku)
- Amazon security update causes big issues for digital signage networks using Fire TV devices (invidis / Sixteen:Nine)
- Digital Signage accessibility guidelines (Western Michigan University)