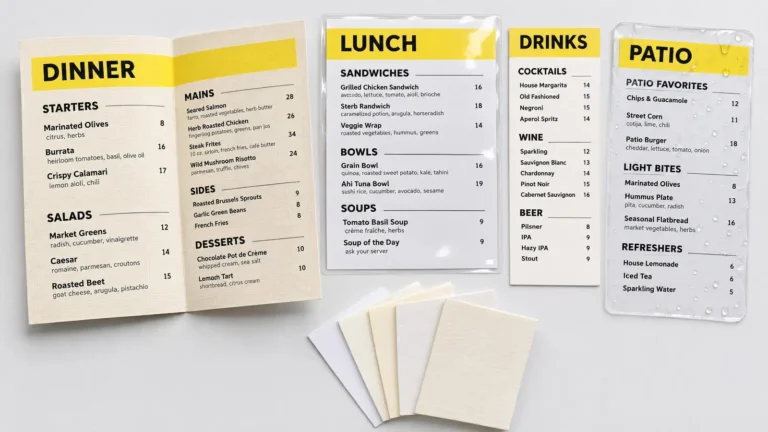
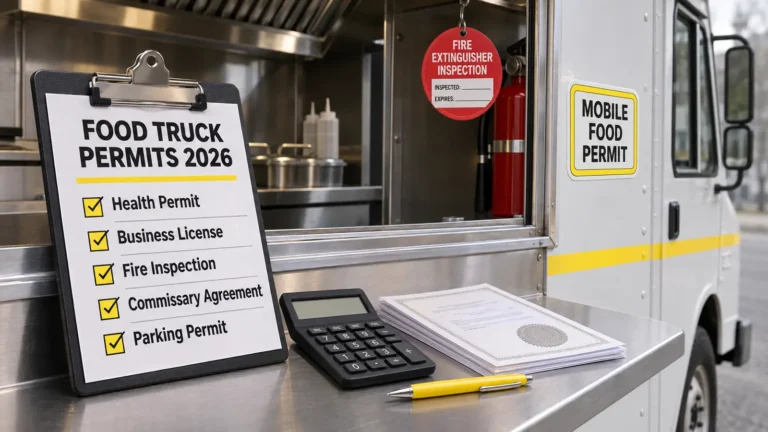
Canva Menu 2026: How to Create a Menu on Canva for Paper and Screens



To make a menu on Canva, collect your items and prices, pick a size and a template, lay out sections and prices, add photos, check every line, then download a PDF Print file for paper or a PNG or MP4 for a TV. The design takes an evening. Keeping a Canva menu current when prices move is the harder part.
How to Make a Menu on Canva: 7 Steps
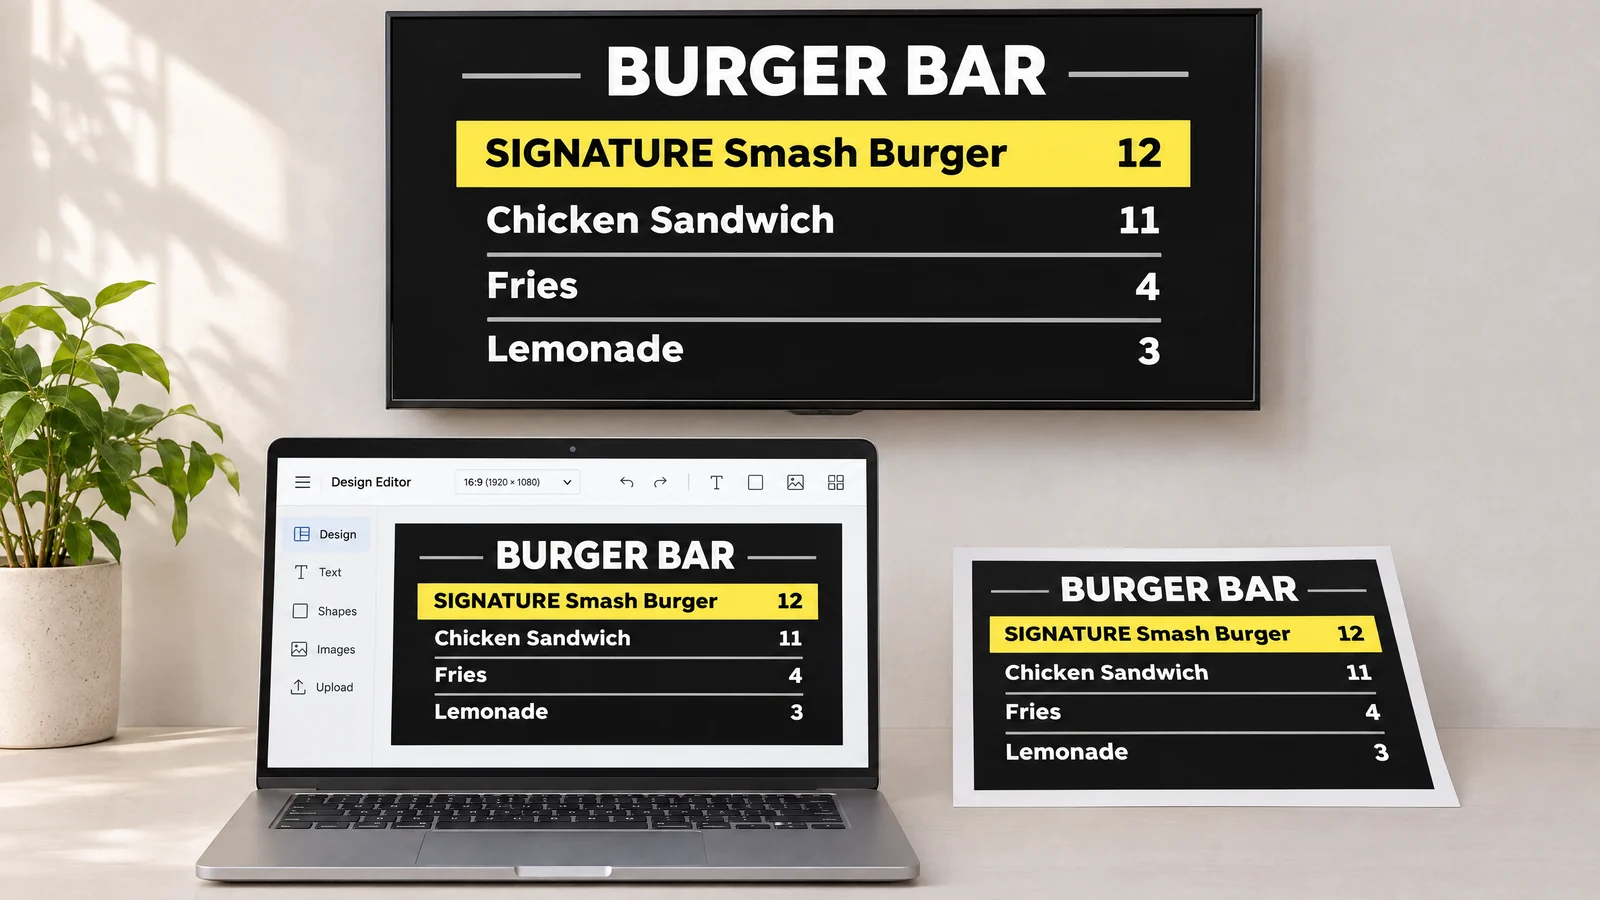
How to make a menu on Canva comes down to seven steps that take you from collecting prices to downloading one file for print and another for a TV. Each step has its own section below with a picture of the action.
- Gather the content. List items by category with short descriptions, current prices from your POS and 3–5 photos of signature dishes.
- Choose the size and a template. Letter 8.5 × 11 in for a table menu, 11 × 17 in for a larger or folded one, 1920 × 1080 px for a TV.
- Lay out sections and prices. Put categories in the order guests order, prices in one column, and use one or two fonts.
- Add photos and a QR code. Show only the dishes you most want to sell, and link the QR code to an online menu.
- Check before you download. Match every price to the POS, proofread names and allergens, and confirm the print bleed.
- Download the right file. PDF Print with crop marks and bleed for paper, PNG for a still TV menu, MP4 for an animated one.
- Put it on paper or a screen and plan updates. Decide who changes the menu, and how, the next time a price moves.
Steps 1–6 happen once. Step 7 repeats every time a supplier raises a price, which is where most Canva menus fall behind.
💡 Made your menu in Canva? Keep the design and let prices update themselves. Upload the file to Decker, connect your POS and change prices on every screen at once. One screen is free forever. Start free
Step 1: Gather Your Menu Content Before You Open Canva
A Canva menu goes faster when every item, description, price and photo that guests will see is ready before you open the editor. Typing prices from memory is how a menu ends up with last month’s numbers.
Prepare four things:
- Items by category. Starters, mains, sides, drinks, desserts, in the order your guests usually choose.
- Descriptions of 6–12 words. One line per dish is enough on a printed menu and too much on a TV.
- Prices exported from your POS. Copy them from the register report, not from the old menu.
- Photos and brand files. Three to five sharp photos of signature dishes, your logo, and your brand colors as hex codes.
Then decide where the menu will live: on the table, on the wall, on a TV above the counter, or on more than one of these. That choice sets the size in step 2, and it decides how many files you will update later.
Prices you type today will not stay put for long. Food away from home in the US Consumer Price Index rose 3.5% over the 12 months ending September 2026, and it rose every month from March through September. In an example, a $15.00 burger that follows that average costs $15.53 a year later. Over a year, that adds up to several rounds of price edits for the same menu. Once the content is ready, the size comes next.
Step 2: Choose the Size and a Template
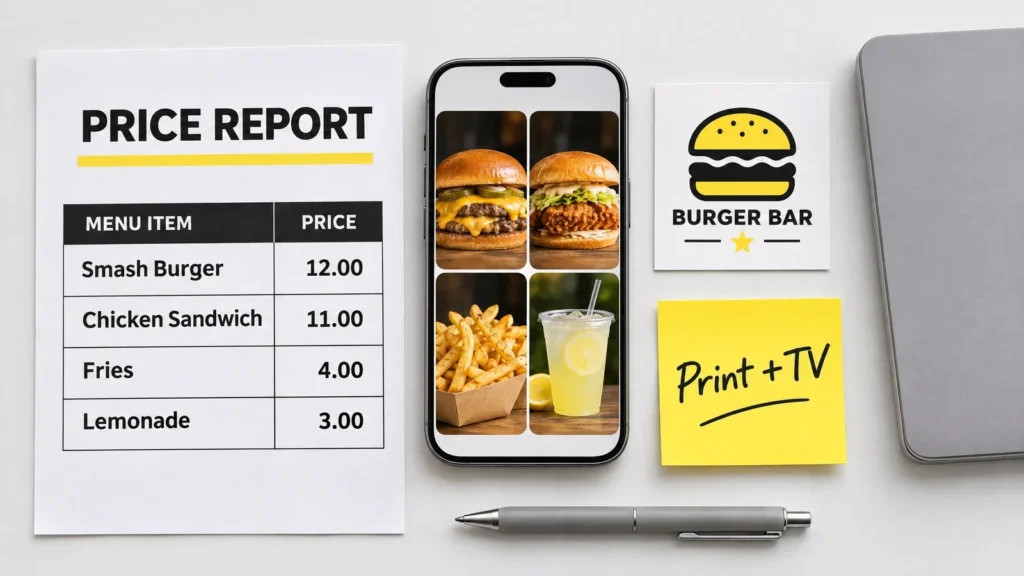
Pick the size of your Canva menu first, because bleed, margins and export quality are all tied to it. Changing the size of a finished menu moves every text box and photo.
| Where the menu goes | Size | What to know |
|---|---|---|
| Table menu in the US | Letter, 8.5 × 11 in | The most common restaurant menu size in the US; Canva prints menu cards at 8.5 × 11 in |
| Larger or folded menu | Tabloid, 11 × 17 in | Folds in half to two letter-size panels |
| Menu printed through Canva Print | 9.5 × 8 in | Canva prints its menu product at this one size |
| TV, landscape | 1920 × 1080 px | Full HD, 16:9, fits most TVs |
| TV, portrait | 1080 × 1920 px | For a TV mounted vertically |
To find a template, type “menu” or “restaurant menu” into the search bar on the Canva home page and filter by your type of venue: café, bar, BBQ, take out. Check the size of the template before you start. Many menu templates are built in A4 (8.27 × 11.69 in), which is narrower and taller than Letter and trims badly at a US print shop. Layouts built for menu boards and screens are also in Decker’s ready-made menu templates, sorted by type of venue.
How to Create a Menu on Canva From a Blank Design
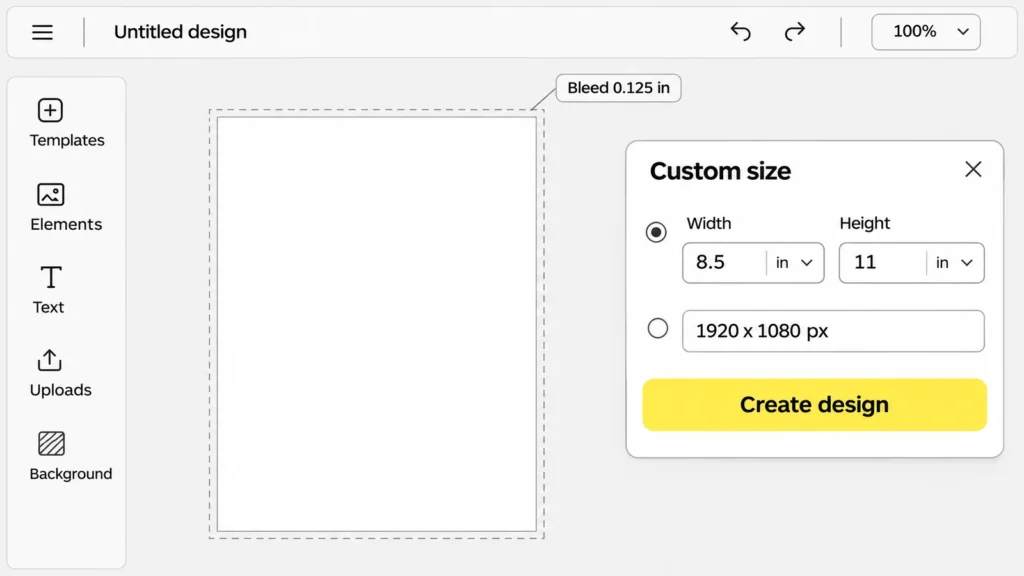
To create a menu on Canva from a blank design, choose Custom size, enter 8.5 × 11 in or 1920 × 1080 px, and build the layout yourself. For a printed menu, open File and turn on Show print bleed before you place anything. A dashed line appears around the page: stretch background colors and photos past it, and keep text inside the margin. Canva’s bleed is fixed at 0.125 in (1/8 in) on each side and cannot be changed, so a Letter menu leaves Canva as an 8.75 × 11.25 in PDF that the print shop trims back to 8.5 × 11 in. A print shop that asks for a different bleed needs a word from you before printing. With the size set, the next step is the layout itself.
Step 3: Canva Menu Design for Sections, Prices and Fonts
Canva menu design that works lets a guest find a dish and its price in one glance, so structure comes before decoration. The same rules apply to a restaurant menu design for paper and to a menu on a TV:
- Sections in ordering order. Starters, mains, sides, drinks, desserts. Give each section a header that stands out from the item lines below it.
- Prices in one column, without dollar signs. In a Cornell University study at a Culinary Institute of America restaurant, 201 diners whose menus showed prices without a dollar sign spent about 8% more, an average of $5.55 per check. Skip dotted leaders too, because they pull the eye across the page to the price.
- One or two fonts. A bold font for headers and a plain font for items. Script fonts look elegant at the table and turn into a blur on a TV across the room.
- One accent color for specials. Leave a fixed spot for specials, so a weekly change does not move the whole layout.
- The same brand on every version. The free plan includes one Brand Kit with three colors; a paid Canva plan adds a full Brand Kit with your logo and fonts, which keeps the printed menu and the TV menu identical.
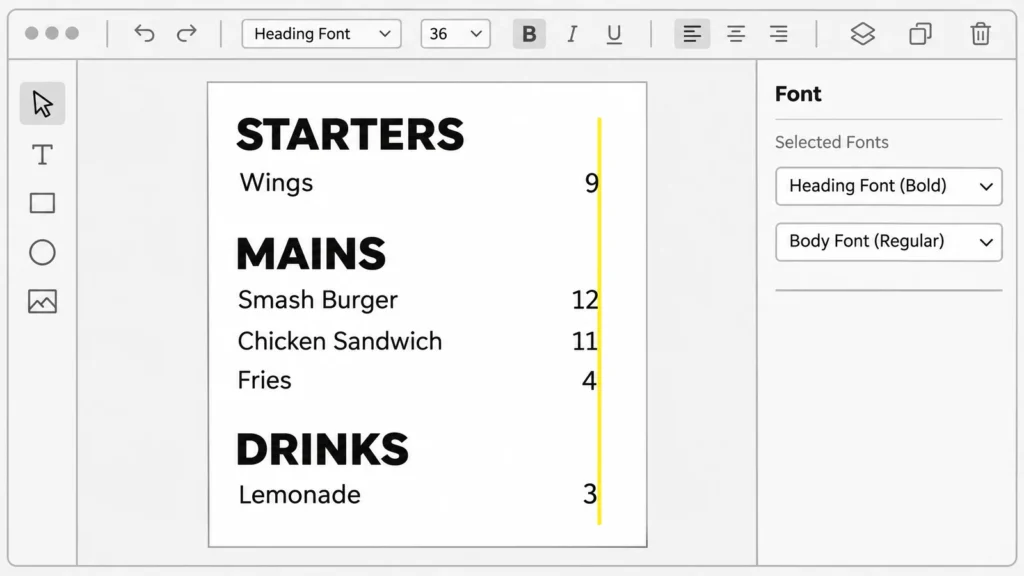
A Canva restaurant menu design that runs out of room needs a second page or panel, not smaller type. Next come the photos and the QR code.
Step 4: Add Photos and a QR Code
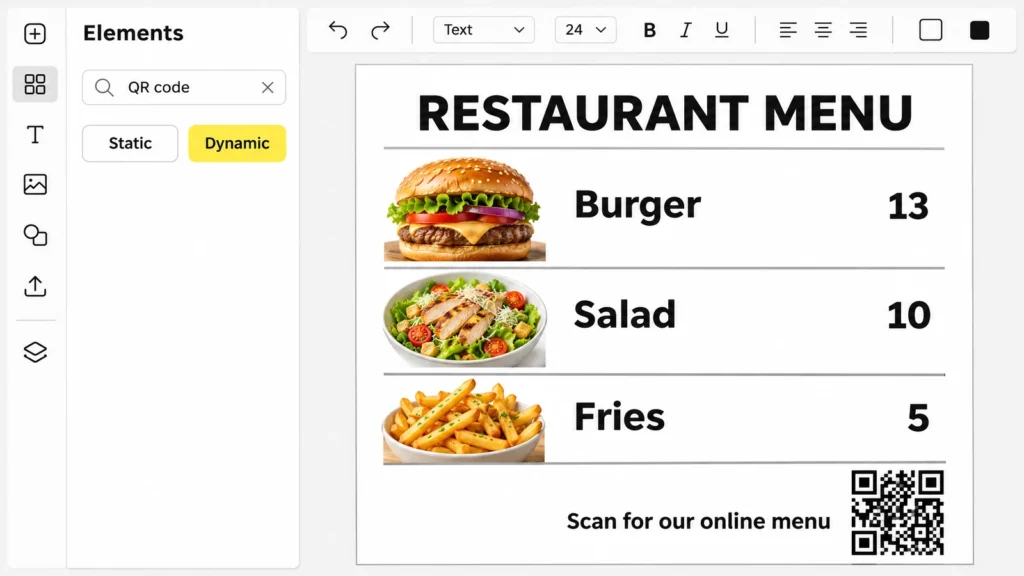
Photos sell the three to five dishes next to them, and a QR code sends guests to a menu you can change without reprinting. Use more photos than that and every dish competes for attention while the type gets smaller.
Upload your own photos or pick from Canva’s library, then crop each one and use Auto enhance to fix dull lighting. Place photos next to the dishes they show, never behind prices, because a busy photo behind text makes the price hard to read.
To add a QR code, open Elements in the editor, search for “QR code”, and choose Create static or Create dynamic. The difference matters for a menu:
- A static code cannot be edited after you create it. A typo in the link means a new code and a reprint.
- A dynamic code can point to a new address later, and on the free and Pro plans you can also change its color and pattern.
Link the code to an online menu that you update on its own schedule, so the QR code never has to change.
⚠️ A QR code on a printed menu does not update the printed prices. Guests who read the paper see the old number, and guests who scan see the new one, which is how disputes at the register start.
Next, check every line before anything goes to print or to a screen.
Step 5: Check the Menu Before You Download
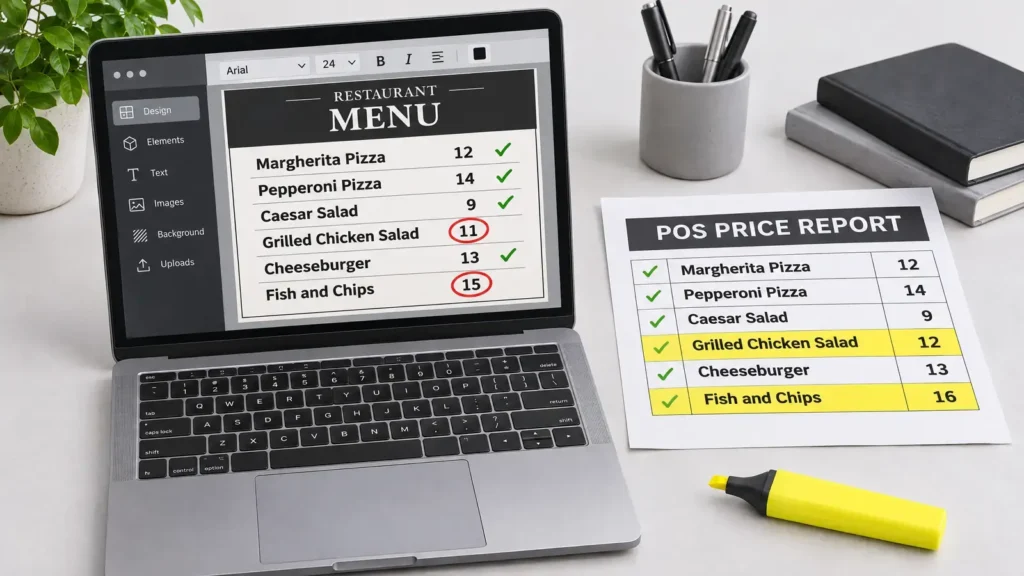
Check four things that can cost a reprint before you download the menu: prices, spelling, readability and bleed. A wrong price on 200 printed copies costs a reprint; a wrong price on a TV costs a refund at the register.
- Prices. Compare every line with the current POS report, item by item, in the same order you use to update a restaurant menu everywhere guests read it.
- Names and allergens. Read the menu out loud once. Mistakes in dish names survive silent proofreading.
- Readability. Print one page at actual size and read it at arm’s length. For a TV, look at the design from across the room on a laptop at full screen.
- Bleed. Backgrounds reach the dashed bleed line, and no text sits in the outer margin.
Chains have one more check. FDA menu labeling rules apply to restaurants that belong to a chain of 20 or more locations operating under the same name with substantially the same menu. Their menus and menu boards must show calories for standard items plus the statement “2,000 calories a day is used for general nutrition advice, but calorie needs vary.” An independent café is not covered.
Step 6: Download Your Canva Menu for Print or a TV
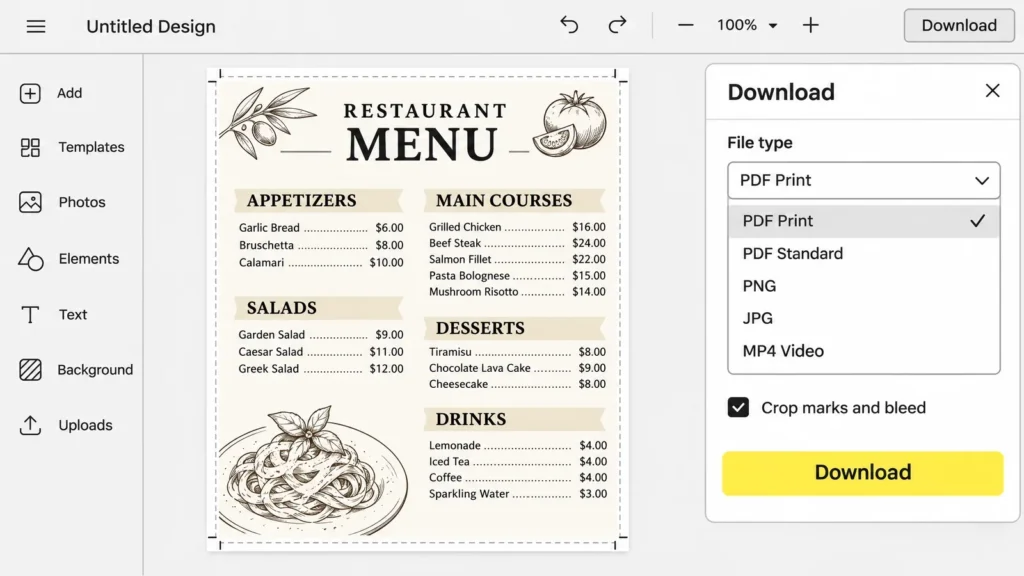
A Canva menu needs a different file type for each place it lives, which means PDF Print for paper, PNG or JPG for a still TV menu and MP4 for an animated one. In the editor, select Share, then Download, and pick the file type.
| Where it goes | File type | Settings | Plan |
|---|---|---|---|
| Print shop or Canva Print | PDF Print | Tick Crop marks and bleed | Free |
| Email or website | PDF Standard | Smaller file, not for printing | Free |
| TV, still menu | PNG or JPG | Design at 1920 × 1080 px | Free |
| TV, animated menu | MP4 Video | Up to 30 minutes and 1920 × 1080 px on Free; up to 2 hours and 3840 × 2160 px on paid plans | Free or paid |
For print, choose PDF Print and tick Crop marks and bleed. The marks show the print shop where to trim, and they appear only in the downloaded PDF, never inside the editor. Many print shops ask for a CMYK color profile, which needs a paid Canva plan; on the free plan, send the RGB file and ask the shop to convert it.
For a TV, PNG keeps text sharp on a still menu. The paid MP4 limit of 3840 × 2160 px holds four times the pixels of the free 1920 × 1080 px, which matters only on a 4K TV; a Full HD TV shows both files the same. MP4 carries animation, but limit motion to specials and keep prices still, so nobody waits for a slide to come back to read a price.
We checked these download options against Canva’s help pages on November 12, 2026. Canva changes plan features from time to time, so confirm the limits in your account before a large print run.
📺 One Canva file, every screen in sync. Upload the PNG, JPEG or MP4 you made in Canva to Decker, then let a schedule switch breakfast to lunch. Try every feature for 14 days on up to 5 screens, no card. Start free
Step 7: Turn It Into a Canva Digital Menu
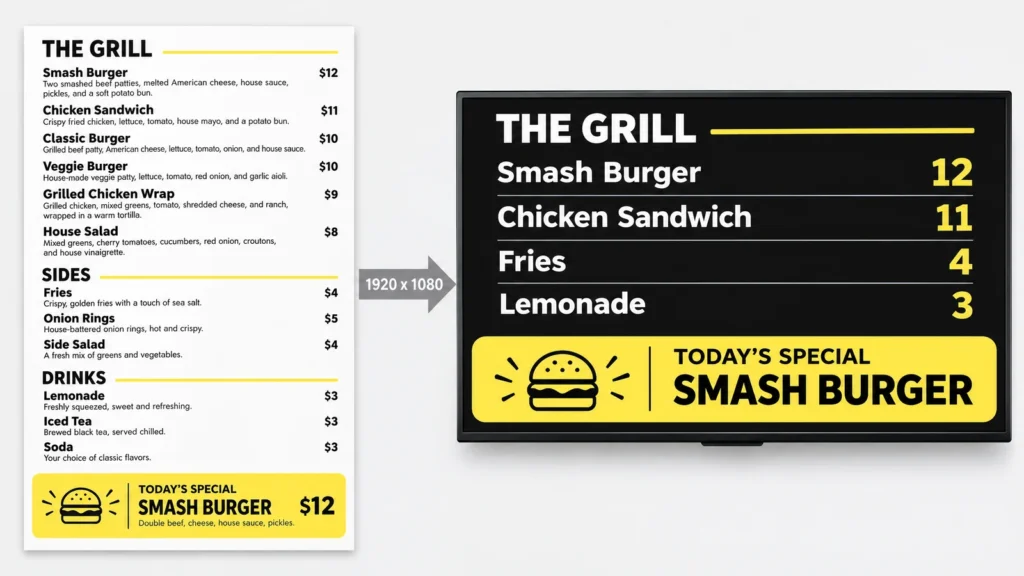
A Canva digital menu is a separate file sized for the TV, not the printed menu stretched to fit a screen. A Letter page shown on a 16:9 TV either leaves black bars or crops the edges.
Build the screen version this way:
- Make a new design at 1920 × 1080 px (or 1080 × 1920 px for a vertical TV). On a paid plan, Magic Resize copies the layout into the new size; on the free plan, create the new design and paste in the blocks.
- Cut the text. Drop descriptions, keep names and prices, and make prices larger than on paper.
- Animate only what you promote. A moving special draws the eye; a moving price list is hard to read.
- Download PNG or MP4 and play it on the TV.
There are two ways to get a Canva digital menu board onto a TV. A USB stick works for one screen whose menu changes a few times a year. A signage account suits several screens, because one upload reaches all of them; Decker accepts the PNG, JPEG or MP4 files from Canva without changes. Letter size for the viewing distance and the TV settings that keep the screen awake decide the rest of turning a TV into a menu board. However, a file on a TV still shows yesterday’s prices until someone replaces it.
Where Canva Falls Short When Prices Change Often
Canva edits the design file, not the menus already on tables and screens, so every price change means a new export and a new round of replacing. For a menu that changes twice a year, that is a short job. For a menu that changes weekly, it becomes part of someone’s shift. You make a menu on Canva once, but the work of keeping it current comes back with every price change.
Price changes are now routine. In the National Restaurant Association’s 2026 State of the Restaurant Industry report, 90% of full-service operators and 85% of limited-service operators said they had raised menu prices. The same pressure shows in the Consumer Price Index, where menu prices at restaurants, measured as food away from home, rose 3.5% in a year.
| What changes | What it takes with Canva | What a menu board system does |
|---|---|---|
| One price | Edit, export, reprint or re-upload to every TV | The new price comes from the POS |
| An item sells out at 2 p.m. | Edit and re-export, or leave it up and apologize | The item drops off the screens |
| Breakfast switches to lunch | Someone swaps files at 11 a.m. | A schedule switches the menu |
| Three TVs in each of two locations | Six file swaps per price change, one per TV | One change |
| Supplier raises 10 prices | Ten edits, then a full export and replace | Prices update from the register |
⚠️ “Edit it in Canva and it’s updated everywhere” is not true. The edit changes the design, while printed menus, USB sticks and downloaded files keep the old price. A Canva menu has no connection to your POS, so every price is typed by hand.
How to Update Prices on a Canva Menu
After you make a menu on Canva, keep one master file per menu and follow the same order every time:
- Pull current prices from the POS.
- Edit them in the master file, not in a copy.
- Download with the date in the file name, such as dinner-menu-2026-11-12.pdf.
- Replace the menu on every screen and in every print location the same day.
Two Canva features help, with limits. Version history restores up to 1,000 earlier versions of a design, but it is not available on the free plan. Bulk Create fills a template from a CSV or XLSX file or a Canva Sheet, one design per row; it needs a paid plan and the desktop editor, and it produces new files rather than live prices.
The step that removes the manual loop is a link between the register and the screen. On Decker’s Professional plan, prices come from Toast, Square or Clover and reach every screen in 1–5 seconds; other registers send prices through an Excel sheet. Items marked as sold out disappear from the menu, and dayparts switch on a schedule. POS integration for menu boards ties each register price to its line in the design. As a result, nobody re-exports the file after a price change.
When Canva Is Enough for Your Menu
Canva alone is enough when the menu changes rarely and lives in one or two places. Four conditions make that true:
- Print only, or one TV. One file to replace, no network to set up.
- Prices change less than once a quarter. Four exports a year take less time than running any system.
- No dayparts. One menu all day, with no switch at 11 a.m.
- One location. No second copy of the menu has to match the first.
If you make a menu on Canva for this case, the free plan covers it: PDF Print with bleed for the print shop, and MP4 at up to 1920 × 1080 px for a TV. Once you add a second location, start changing prices monthly or need breakfast and lunch on the same screen, digital menu boards take over the part Canva leaves to you: keeping every copy current.
Questions and Answers
1 Can you create a menu in Canva?
Yes. Search “menu” on the Canva home page, open a template or a blank design that fits Letter size or 1920 × 1080 px, add sections, items and prices, and download it as PDF Print for paper or PNG or MP4 for a TV.
2 Is Canva actually free to use for a menu?
Yes, you can make a menu on Canva on the free plan, and it covers a complete menu: templates, custom sizes, PDF Print with crop marks and bleed, PNG and MP4 at up to 1920 × 1080 px. Paid plans add a full Brand Kit, Magic Resize, version history, Bulk Create and longer, higher-resolution videos.
3 What size should a Canva menu be?
For a table menu in the US, use Letter, 8.5 × 11 in, or 11 × 17 in for a larger or folded menu. For a TV, use 1920 × 1080 px landscape or 1080 × 1920 px portrait. Printed menus also need 0.125 in of bleed on each side, which Canva adds when you turn on Show print bleed.
4 Can I make a digital menu board in Canva?
You can design a Canva digital menu board as a PNG or MP4 file at TV size. Canva does not play it on the screen: a USB stick or a signage account puts the file on the TV, and every price change means a new file.
5 How do I add a QR code to a Canva menu?
Open Elements, search for “QR code” and choose a static or a dynamic code. Use a dynamic code on printed menus, because you can change where it points later, while a static code stays fixed once created.
6 Can a Canva menu pull prices from my POS?
No. Prices on a Canva menu are typed by hand. Bulk Create can fill a template from a spreadsheet, but it creates new files instead of updating the menu on your screens. Live prices need a menu board system connected to the register.